Goodness! I realized I have not been updating my blog for almost 6 months! On and off I did make sandwiches but didn't bring myself to post on the blog. I was also recuperating at home last month . Excuses! Excuses! Excuses! Finally got myself to sit in front of the PC to update my blog. Thanks to the motivation as a trainer for the recent sandwich making workshop. I was so excited to conduct a sandwich making workshop last week. 2 wonderful friends came and helped me with the workshop, if not, I wouldn't be able to cope on my own. I enjoyed myself and the participants had a great time too! I did a Step-By-Step course note for the workshop and now I will share it in this post. Let's take a look at a few pictures of the workshop before I share the course notes for the workshop.
 There were more than 30 participants but my fingers were not fast enough to take picture of all the sandwiches! They all did an amazing job!!! Bravo!!!
 The Beginning. Nope, I was not going for a vacation. My barang barang for the workshop was so heavy that I had a hard time getting the stuff to the office premises.
Doing the demo.
I was quite happy that the turnout was not 100% ladies. Who says men cannot make cute sandwiches?
My buddy that came all the way to help me with the workshop!!! Feel the love! Don't scold me, buddy...but I don't have the time to edit our picture.
Now the tutorial.....
Step By Step Tutorial for Little Girl Sandwich
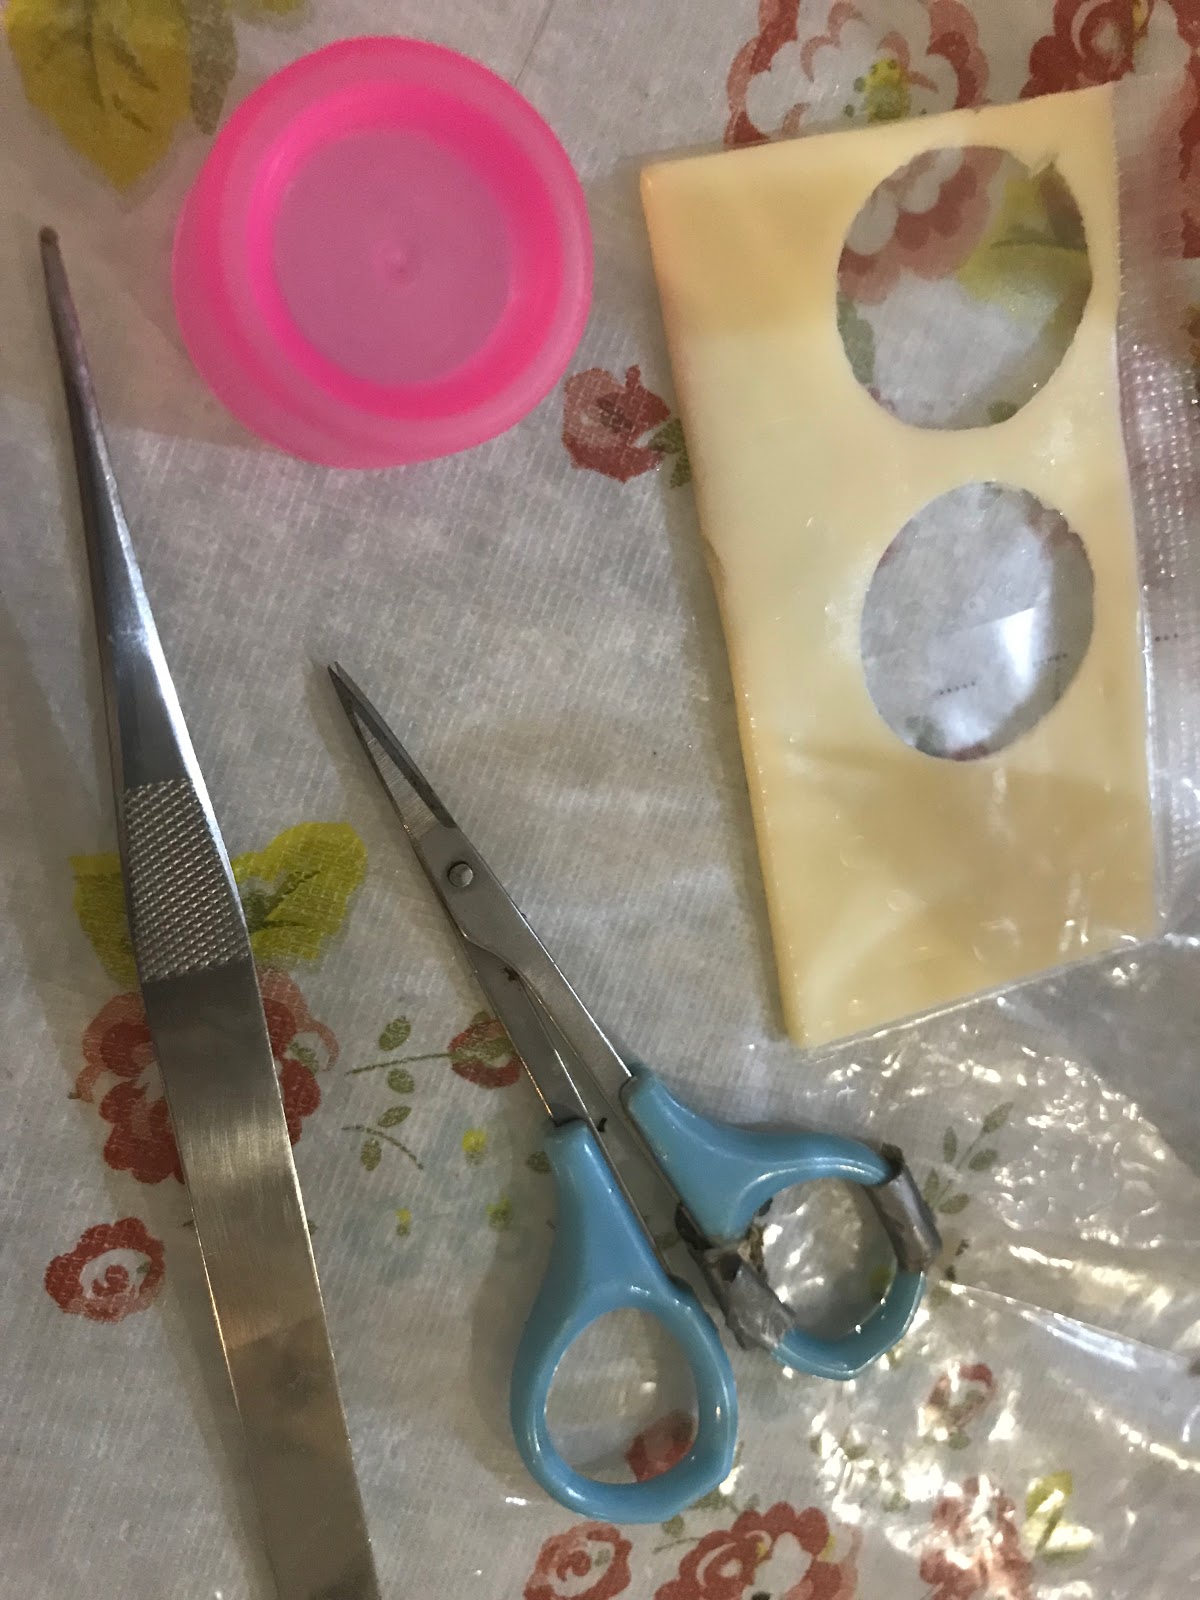
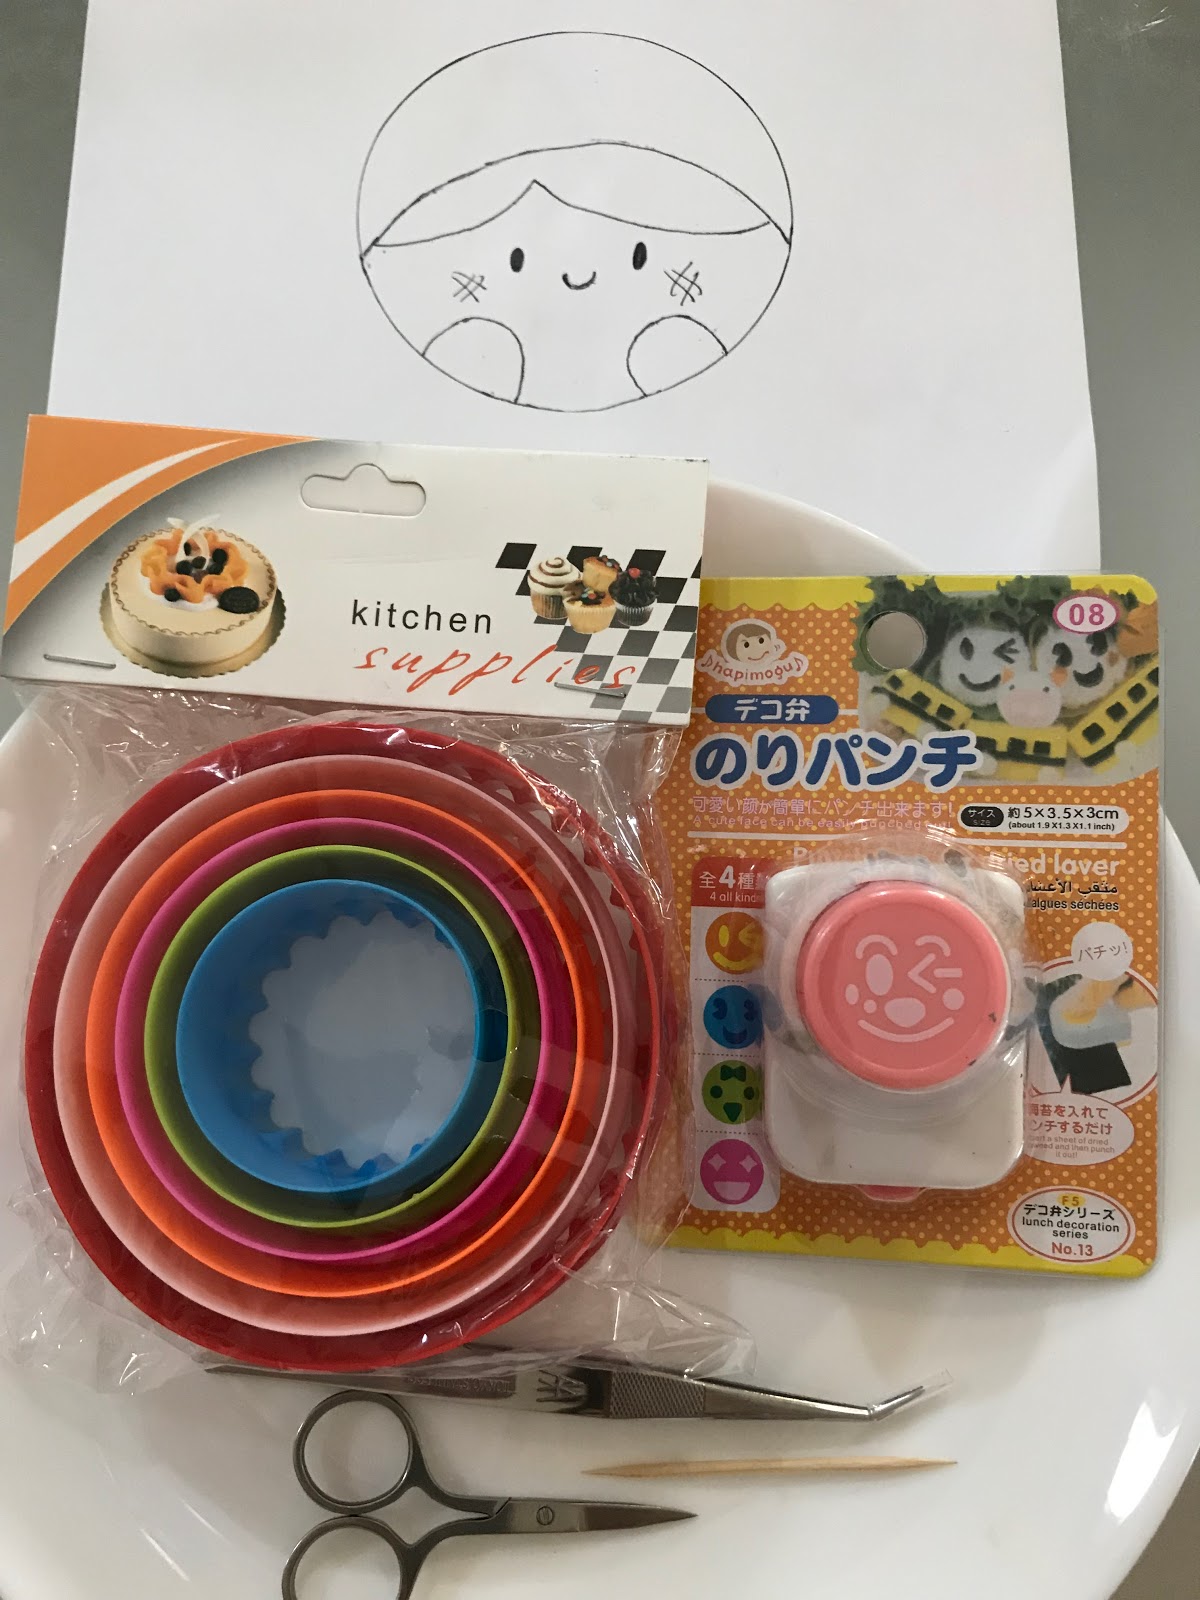
Tools Needed –
Round
Bread Cutting Mold
Seaweed
Puncher
Tweezers
Scissors
Toothpick
Butter knife
Ingredients –
2
Slices of Bread (preferably white bread)
Strawberry
Jam
Dried
Seaweed (Nori)
Mayonnaise
One
slice of Cheddar Cheese
Half
a slice of White Cheese
Step 1 - Cut out the parts of the drawing as shown.

Step 2 - Spread the jam in the center of bread. Go light on the sides to avoid a ‘bleeding’
sandwich.
Step 3 - Use the round mold and cut the bread.
You should get something like that.
Step 4 - Using a toothpick, trace the outline of the little girl’s hairband on the cheddar cheese (with the plastic covering).
Step 5 - Remove the top of the plastic covering and run over with the toothpick again.
You should get something like that. Place it on the bread.
Step 6 – Place the hair of the little girl over the nori and cut out the shape accordingly.
Step 7 – Punch the expression using the seaweed puncher. Dab some mayonnaise and place the eyes and mouth on the bread as shown.
You are free to express yourself.
You will be able to create different expressions using just one seaweed puncher. Inverted mouth makes a sad expression.
Step 8 - Using a toothpick, trace the hand of the little girl on the white cheese (similar to Step 4&5).
Step 9 - Place the white cheese on the bread.
Step 10 – Dab some strawberry jam on the cheeks as blusher.
Step 11 – Add a bow or any decorations on the head.
The little girl is supposed to be holding a flag holding the company's logo but I shall not post the picture with the flag here.


 The other item in the box that I want to share is the dead man's fingers. I cut away some part of the hot dog to make it look like finger nails. I also did some cuts on the hot dog to resemble the wrinkles on the fingers. Add the hot dog to boiling water for a while and you get really gruesome severed fingers. Add some tomato sauce to the fingers to level up on the horror!


